Create a Paddock
Prerequisites:
- Add A Farm
Exploring the Farm View
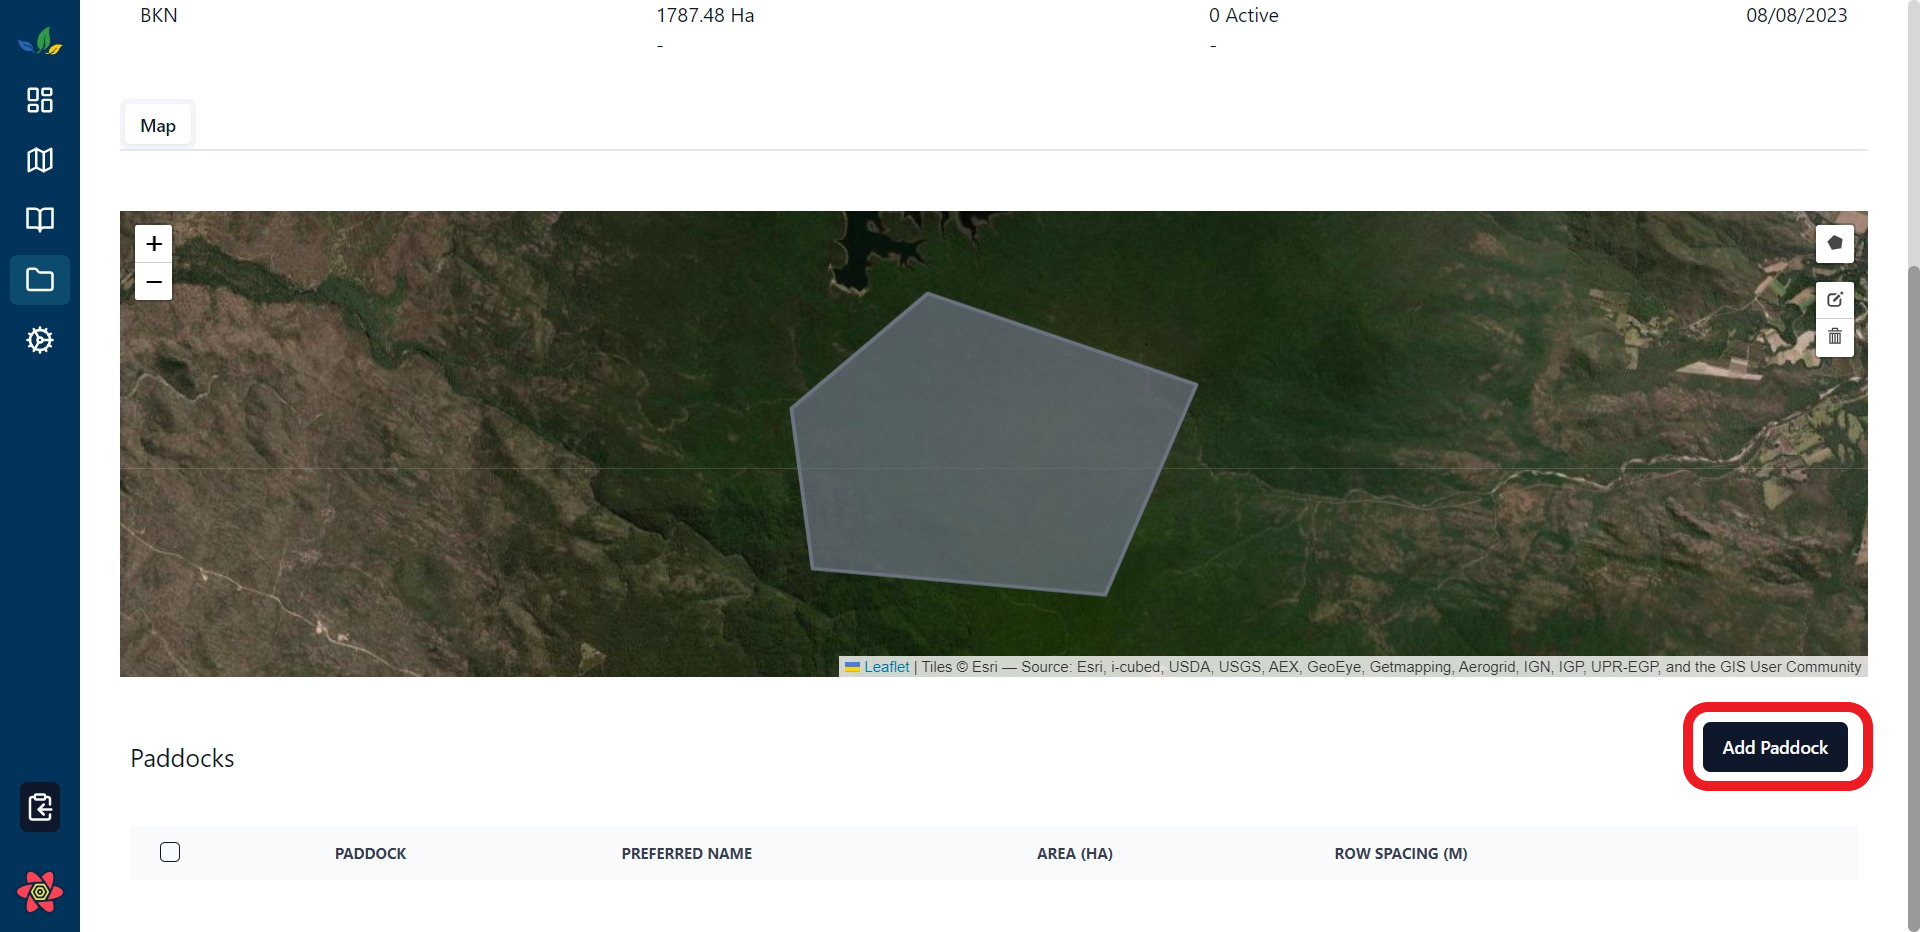
To add paddocks to a farm we first have to navigate to the farm itself, to do this navigate to the farm tab (in records), click on the table row of the farm you want to add a paddock to. This will navigate you to the Farm Detail Page, which is a page dedicated to information and actions related to this farm. Here we can scroll down to paddocks table, which will initially be empty. Using the "add paddock" button will open the wizard for adding a paddock.

Currently there is no way to bulk import paddocks, you will have to import them one by one
Paddock Details
Fill out all the applicable details about your paddock and hit next.
The required fields are:
- Paddock Code ( unique identifier, should be unique for farm)
- Row Spacing (width of rows, used for row calculator)
Optional:
- Preferred Name is an optional field that will be used for paddock labels, useful when you call the block differently to its official name
All reports will use the Paddock Code field, preferred name is currently just for visual purposes.
Paddock Boundary
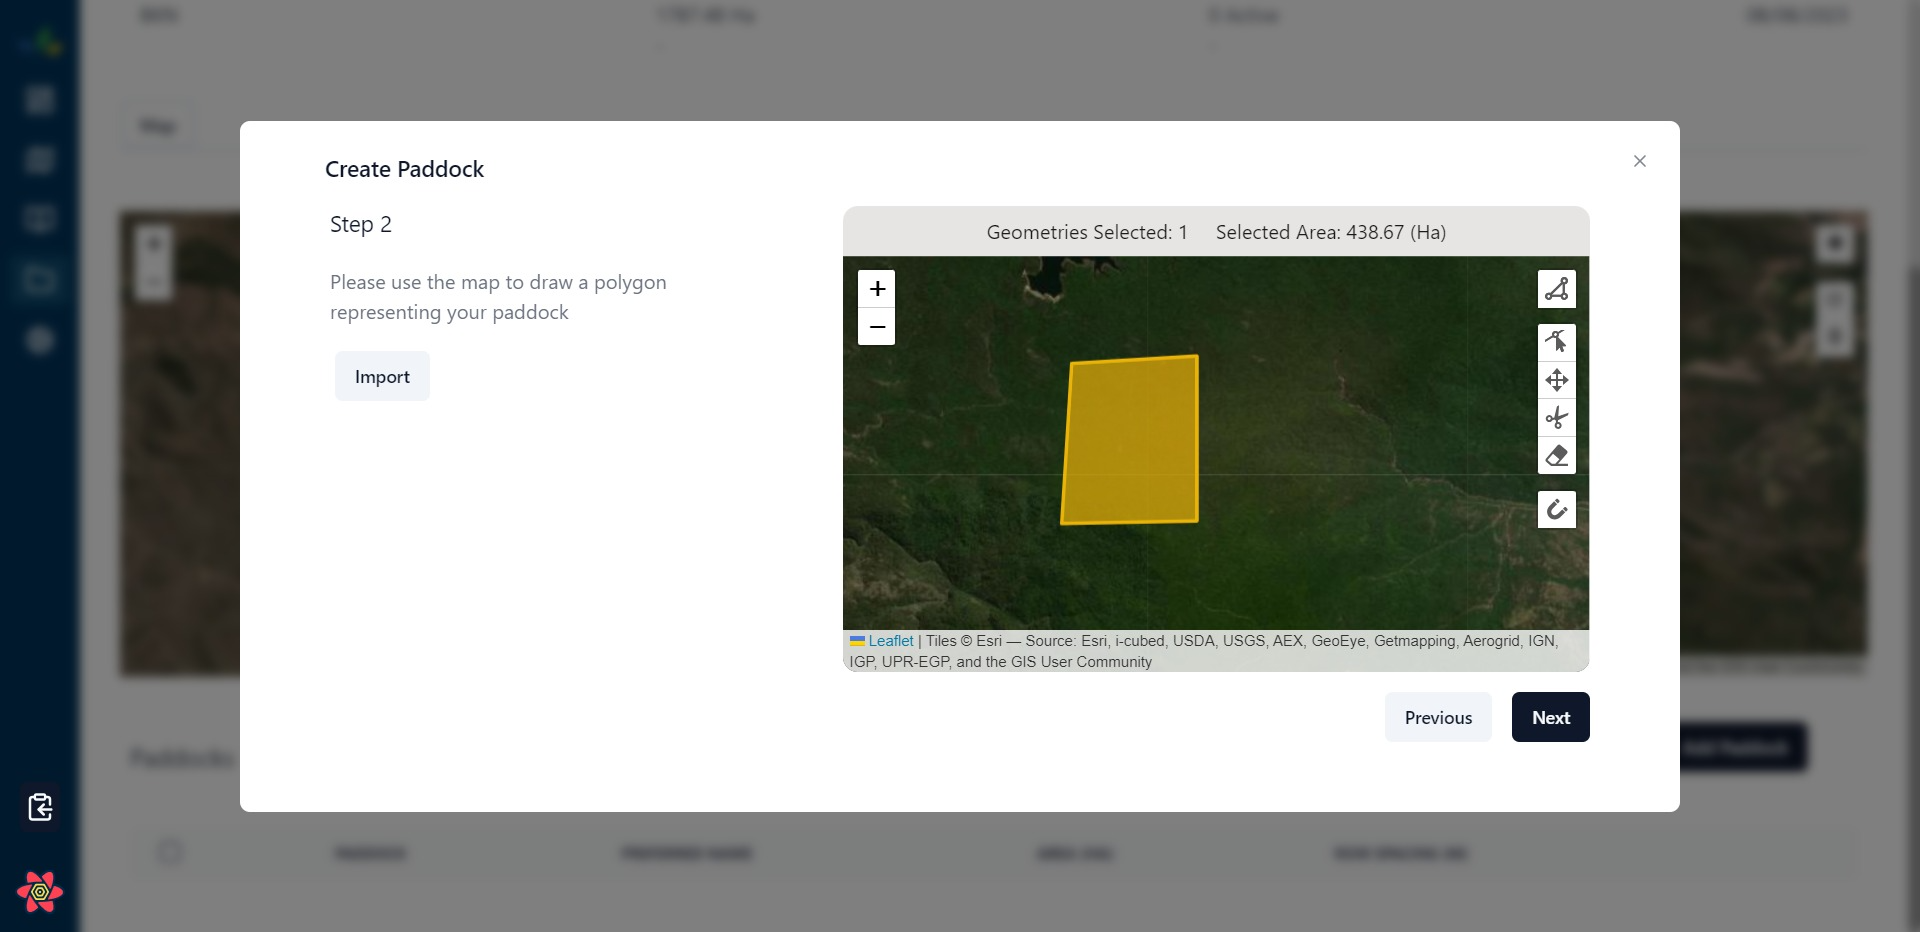
The paddock boundary is polygon that indicates the farmable area of a single block located within your farm boundary. There are two ways for oyu to provide a boundary to use for the paddock you are creating, either drawn by hand using a mouse or by importing via a shapefile.
Draw Paddock Boundary
- Find the the area you want to draw for your block on the map
- Press the triangle with three dots (top right) to start adding your polygon.
- Draw your paddock by clicking on the map to add nodes on key points of your boundary
- Always finish your last click on the original node you started with to close the polygon

Import From File
The import button can be used to import a shapefile, once the file dialog pops up you will only be able to select valid files ending in .shp. Once you've selected the file hit okay it will populate the geometry on the map if it was succesfully imported.
This map window has additional controls you can explore (in order from top to bottom)
- Create Polygon
- Edit Node
- Move Polygon
- Cut Polygon Via Line
- Remove
- Enable node snapping (useful for snapping to existing polygon boundaries)
Ab Line
An ab line represents the edge of the paddock to use when generating rows, select an ab line by hovering of the yellow lines and clicking to select one.
Currently we don't support curved AB Lines or lines that aren't part of the paddock boundary
Hit Save, and thats it! you should see a popup banner saying paddock added succesfully!